When it comes to managing our clients’ domain names, Cloudflare has become our go-to DNS solution. Its reliability, instantaneous DNS updates, and robust DDoS protection make it a cornerstone of our operations, all while being free of charge.
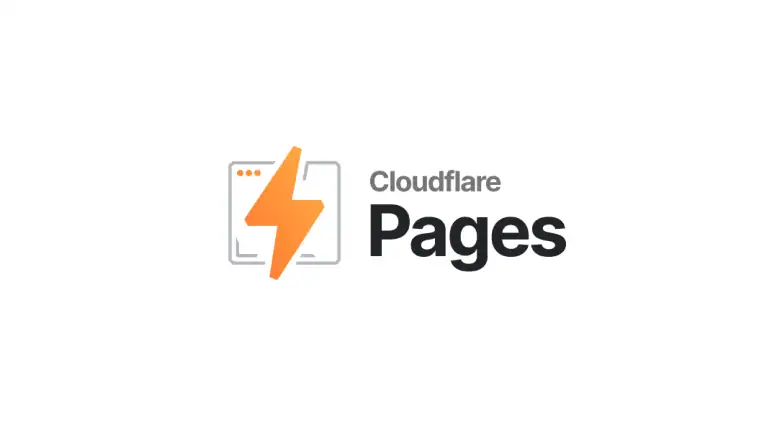
However, Cloudflare’s capabilities extend far beyond DNS management. Now, we’re excited to leverage Cloudflare pages for hosting our web applications and even WordPress sites. With its generous offering of up to 100,000 requests per day at no cost, Cloudflare presents an ideal option for development environments or smaller-scale web applications.
By tapping into Cloudflare pages’s web hosting capabilities, we’re able to streamline our infrastructure and take advantage of its high-performance global network. This not only enhances the reliability and security of our web applications but also reduces our operational costs, allowing us to focus more resources on delivering exceptional experiences for our clients.
We’ve achieved seamless deployment of NuxtJS, Astro, and WordPress on Cloudflare Pages. Within minutes, you can launch a fully operational site with a complimentary subdomain. Plus, when coupled with CI/CD integration, your sites will be updated automagically.
Here’s a step-by-step guide on how to do it:
1. Sign up for Cloudflare:
If you haven’t already, sign up for a Cloudflare account at https://www.cloudflare.com/.
2. Access Cloudflare Pages:
Once logged into your Cloudflare account, navigate to the “Pages” tab.

3. Create a New Project:
Click on the “Create a Project” button.
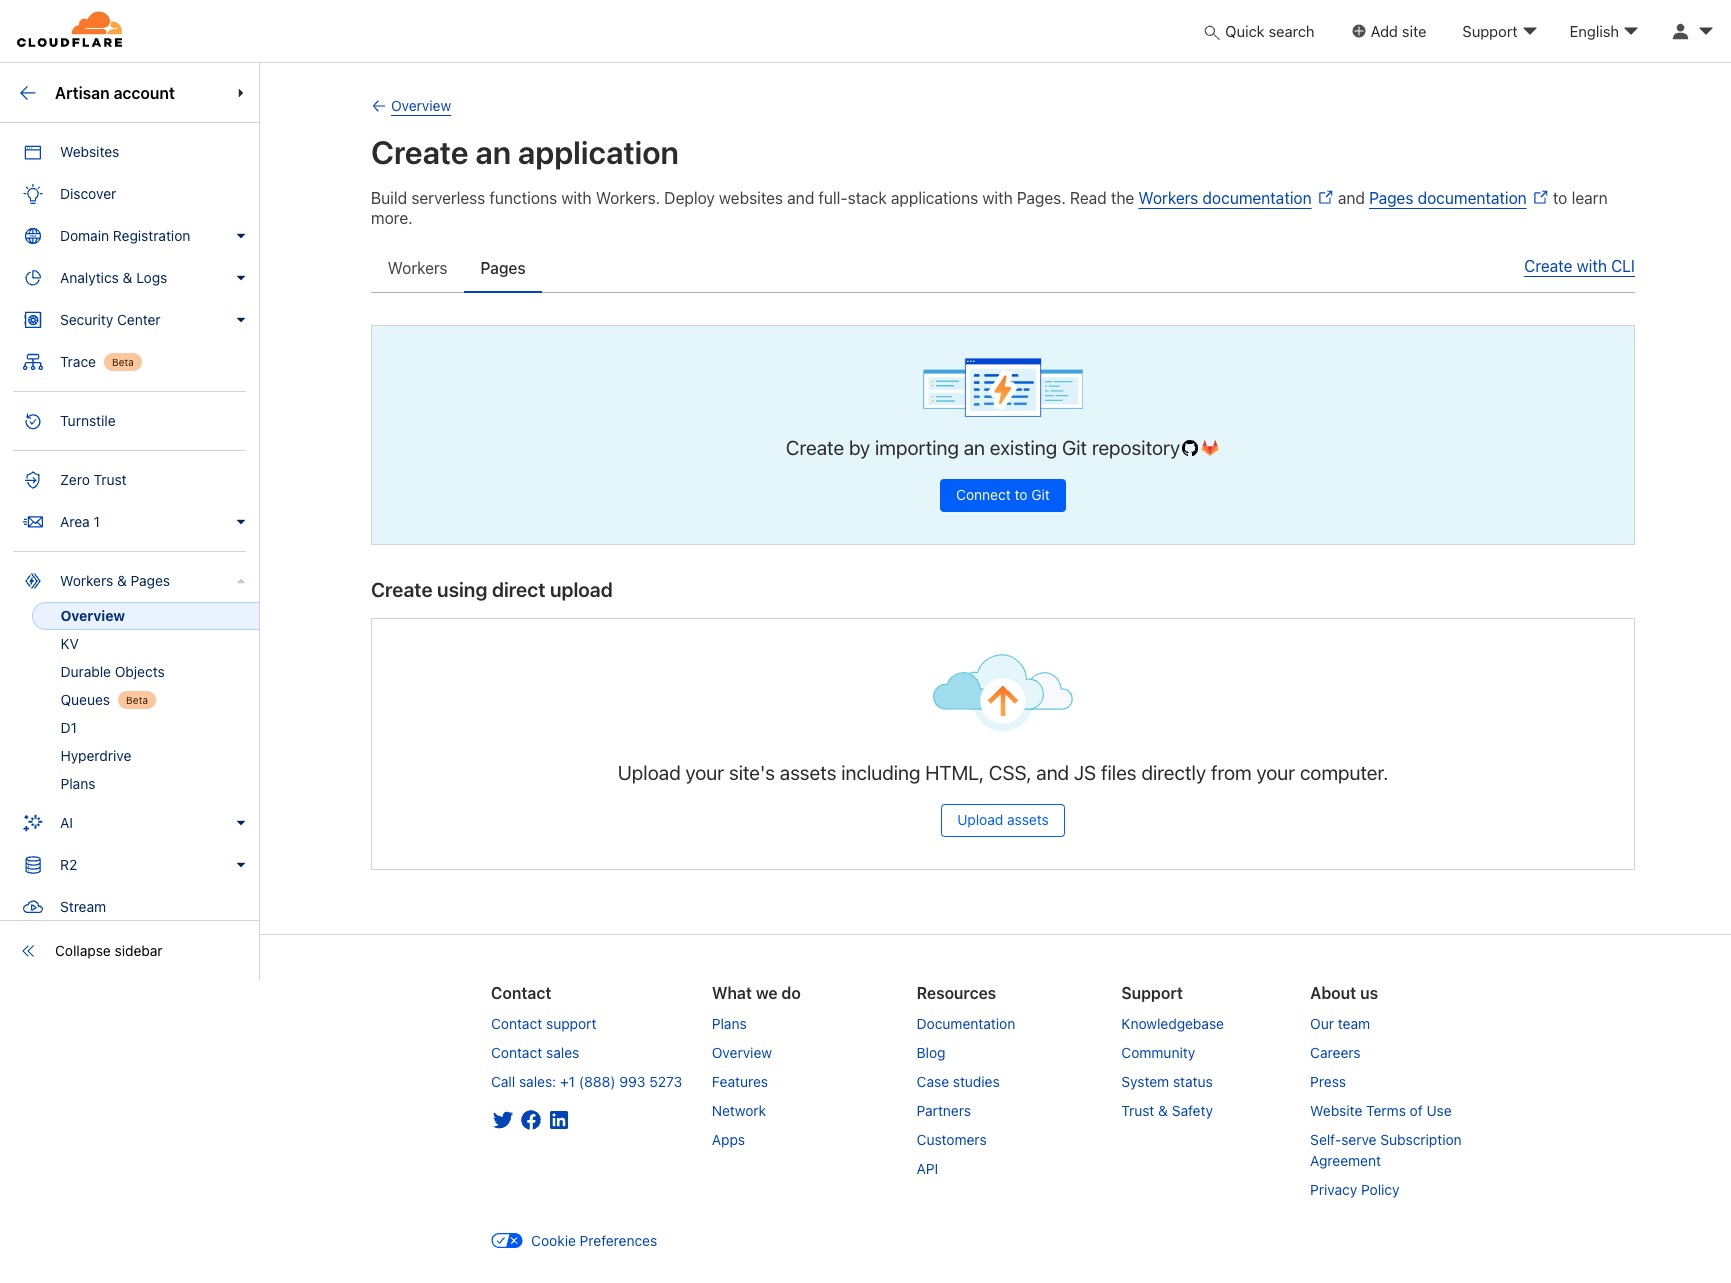
Choose the GitHub repository or GitLab repository where your web app code is hosted.
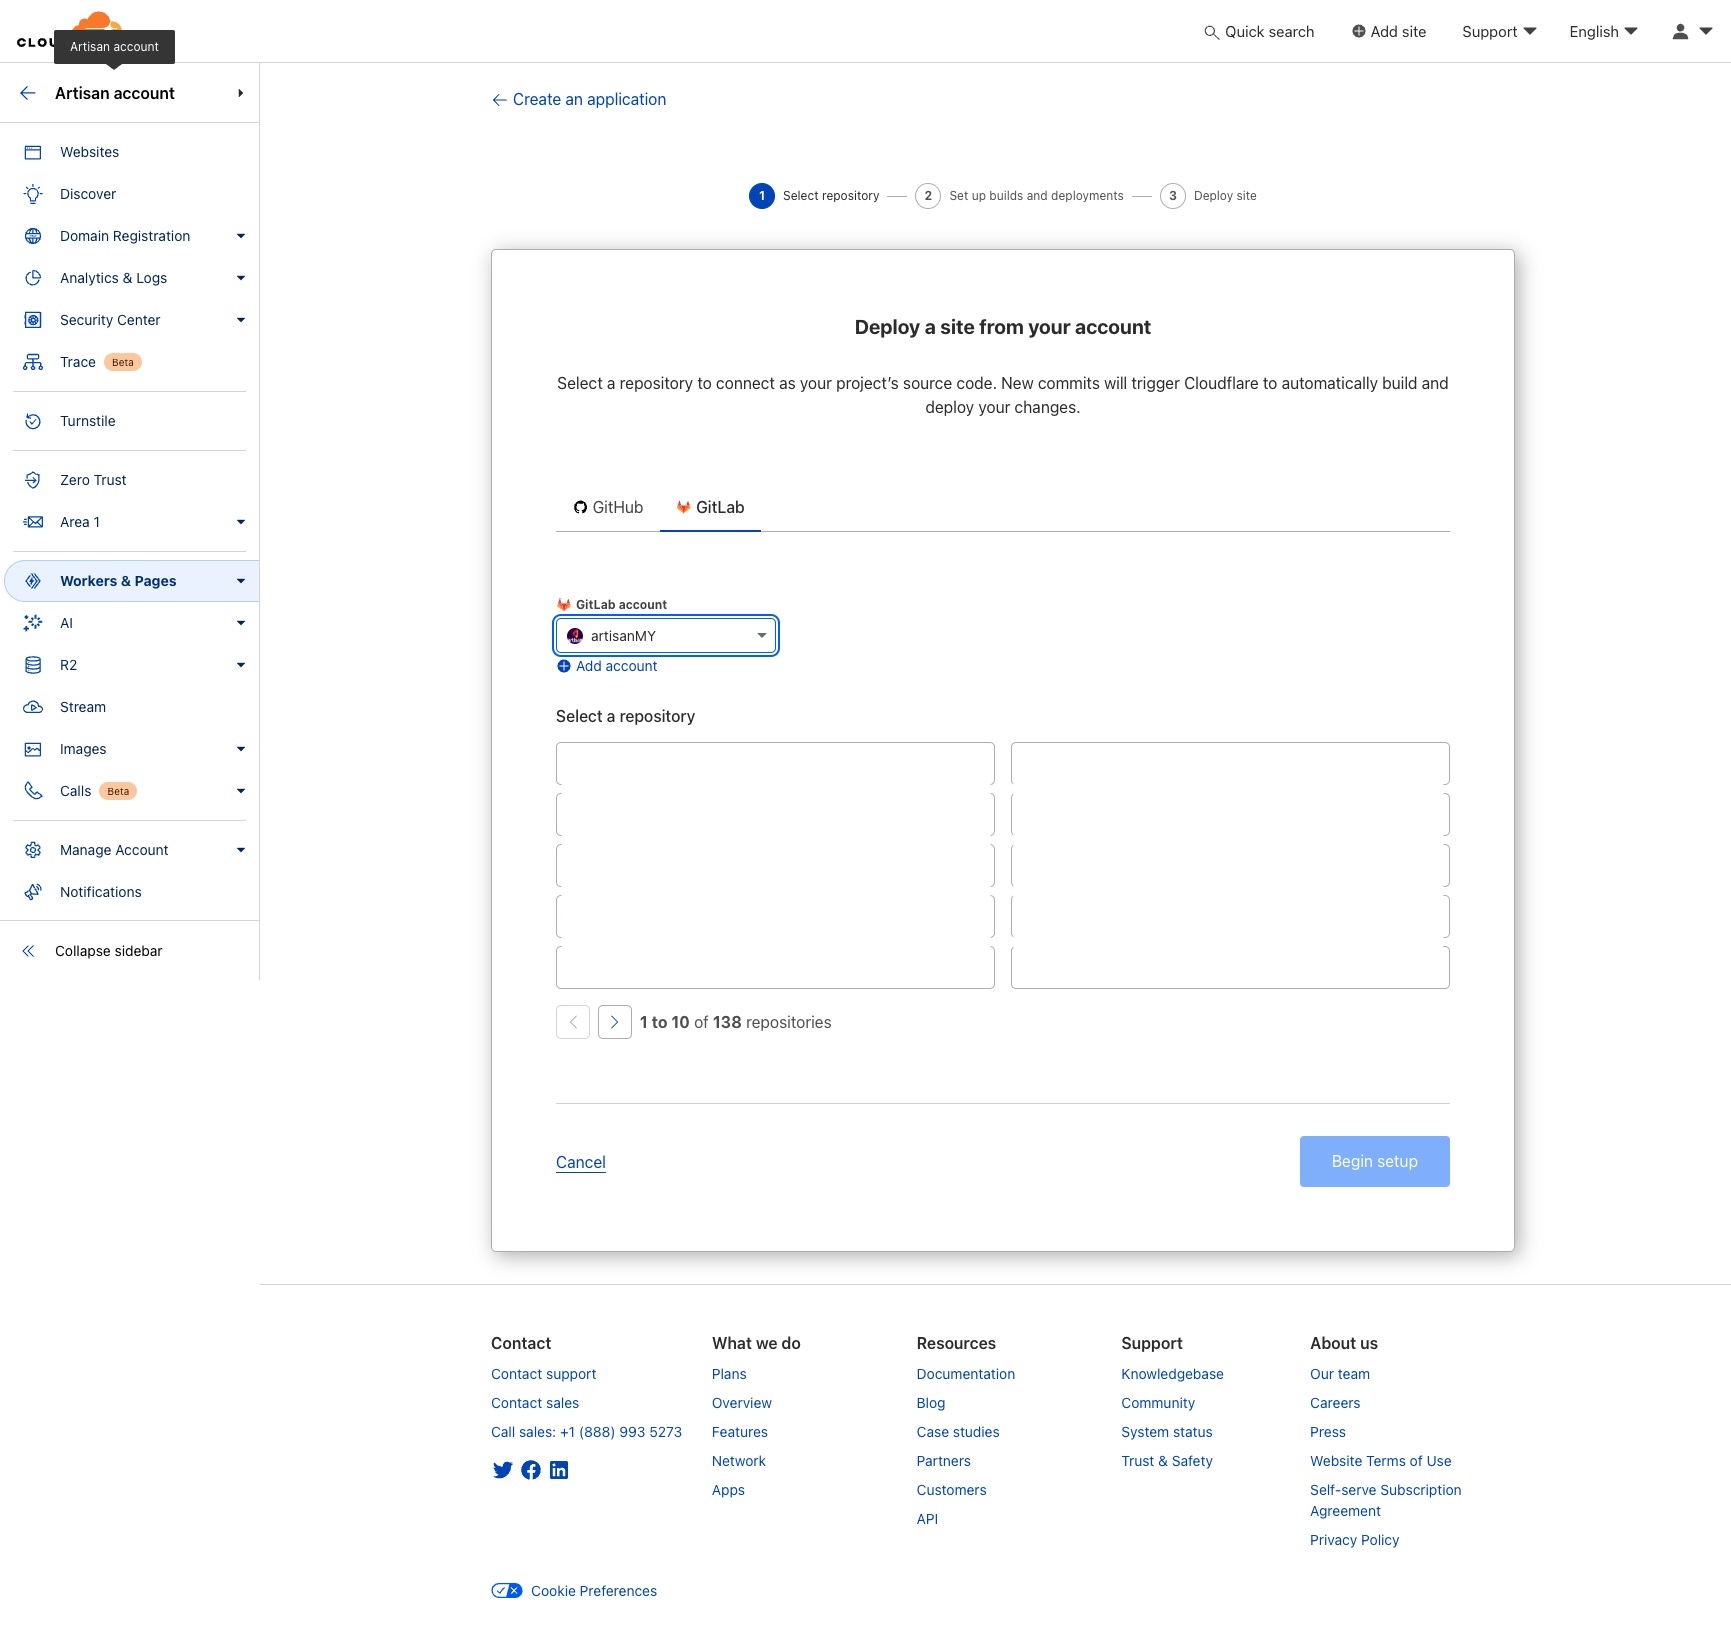 Select the branch containing your web app code.
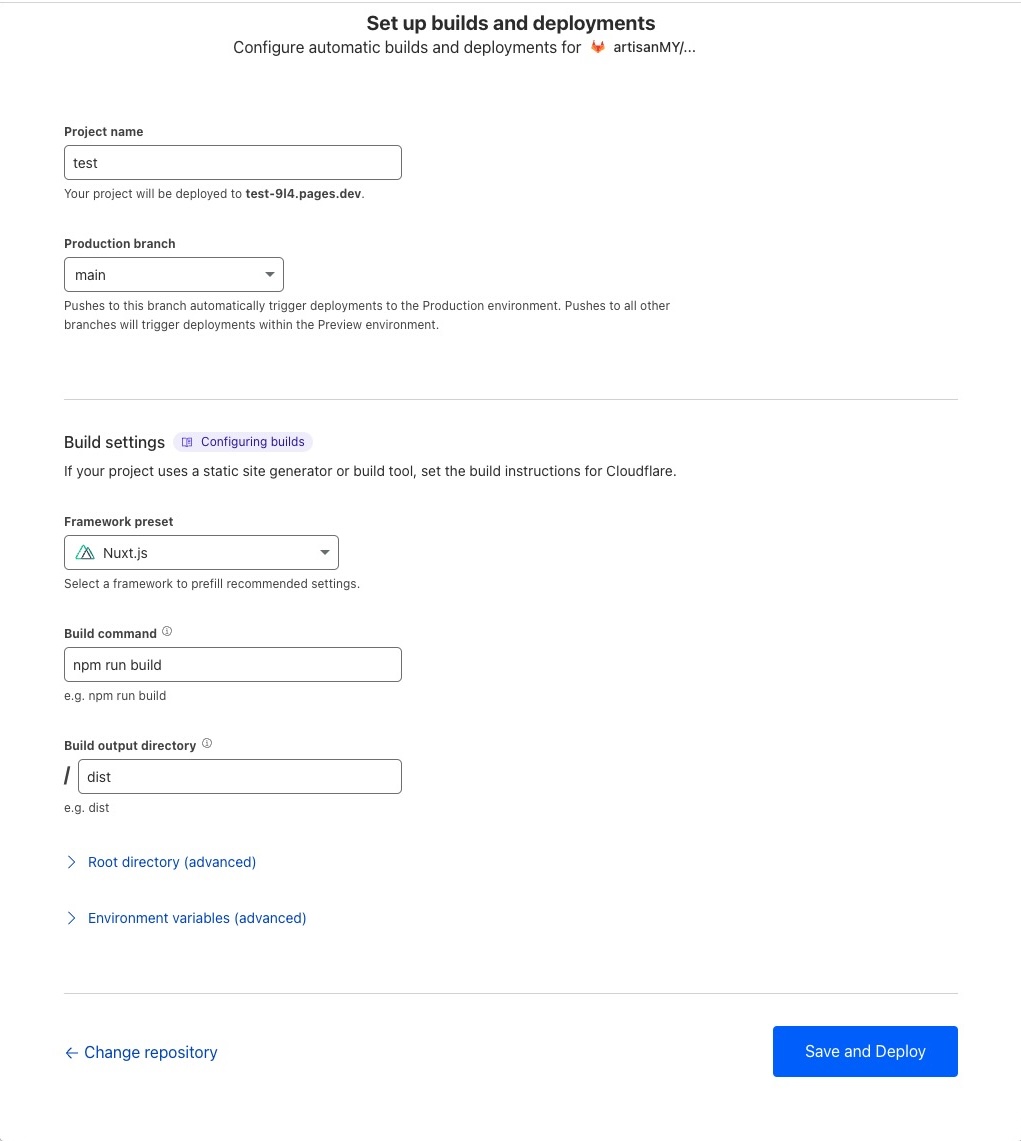
4. Configure Build Settings:
Specify the build settings for your web app, including the build command, output directory, and environment variables if necessary

Cloudflare Pages will automatically build and deploy your web app whenever changes are pushed to the selected branch.
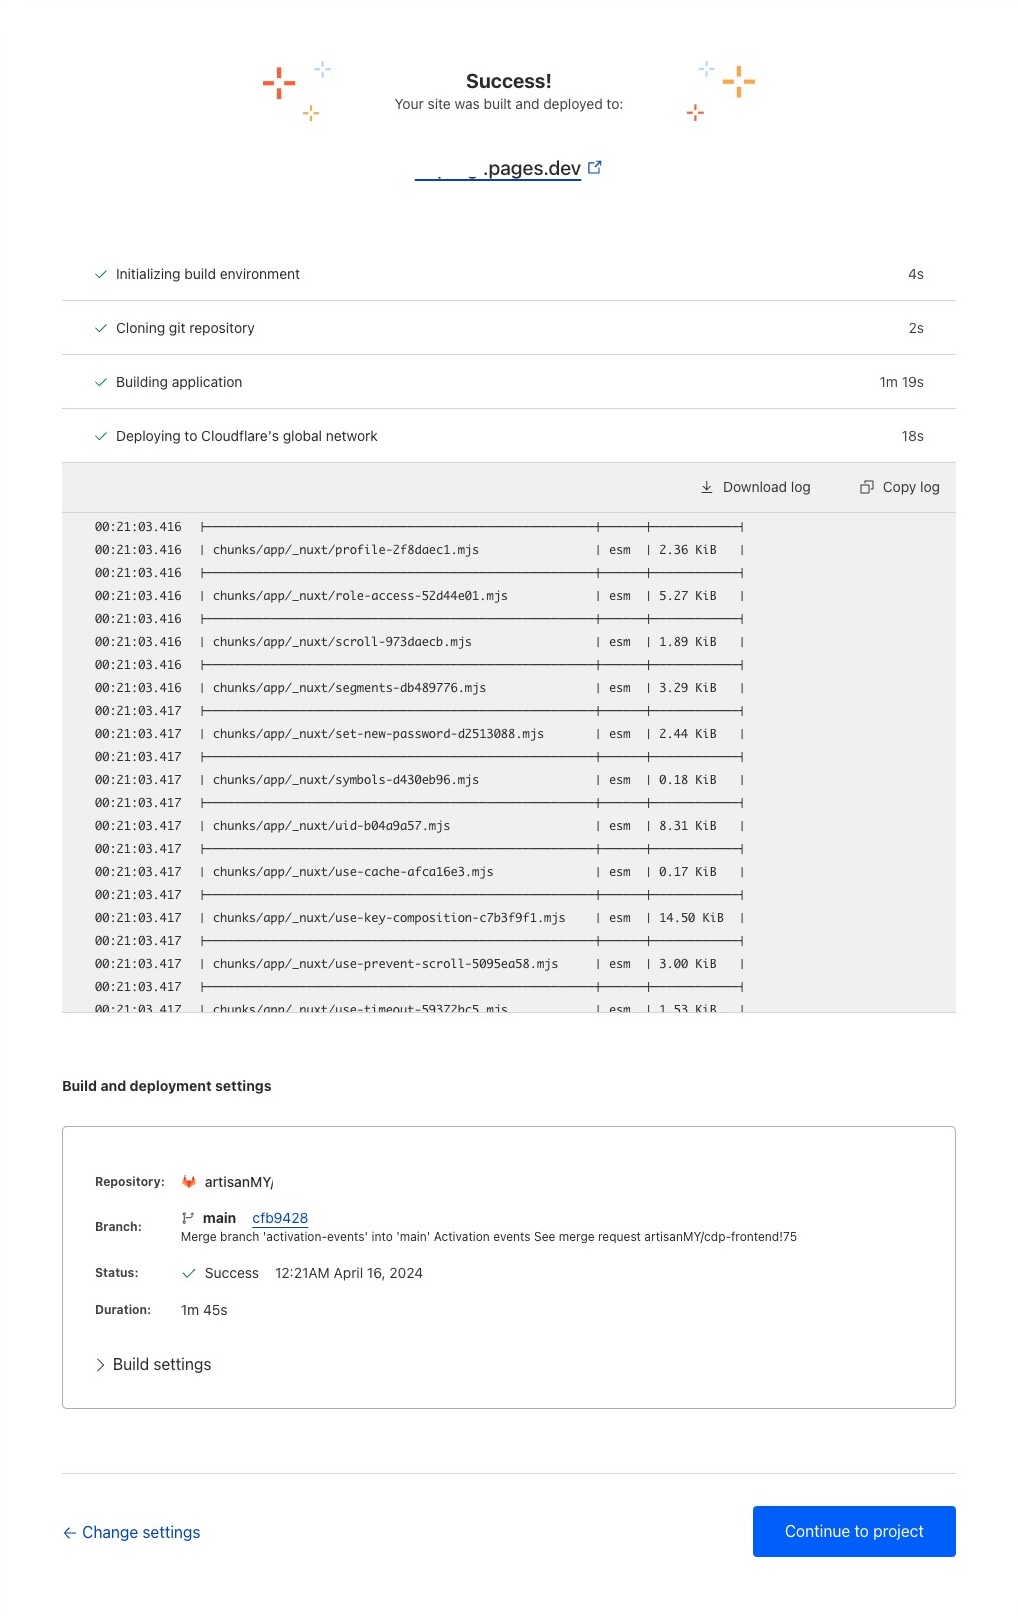
5. Review and Deploy:
- Review the configuration settings to ensure everything is set up correctly.
- Click on the “Deploy” button to deploy your web app.
6. Access Your Web App:
Once the deployment process is complete, your web app will be accessible via the provided Cloudflare Pages URL.
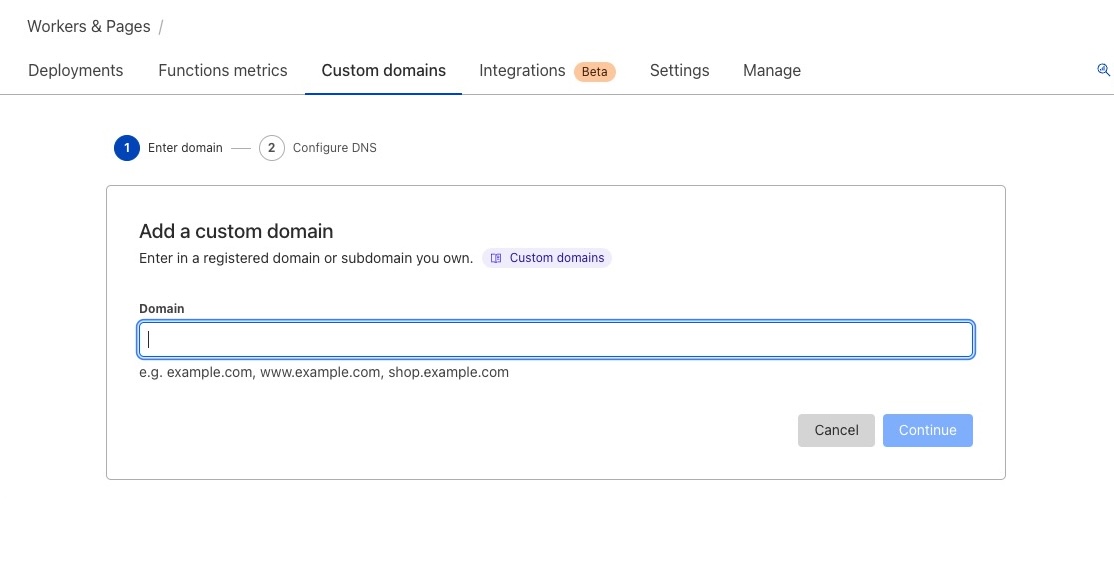
7. Configure Custom Domain (Optional):
- If you have a custom domain, you can configure it to point to your Cloudflare Pages site.
- Navigate to the “Custom Domains” section within Cloudflare Pages and follow the instructions to add your custom domain.
8. Continuous Deployment:
- Cloudflare Pages supports continuous deployment, meaning your web app will automatically update whenever you push changes to the connected repository.
- Take advantage of this feature to streamline your development workflow and ensure your web app is always up-to-date.
9. Monitor and Manage Your Web App:
- Monitor your web app’s performance and usage using Cloudflare analytics and monitoring tools.
- Utilize Cloudflare’s robust features for security, performance optimization, and scalability to enhance your web app’s reliability and user experience.
By following these steps, you can easily host your web app for free using Cloudflare Pages, leveraging Cloudflare’s global network and advanced features to ensure high performance, security, and reliability.